Find the Leak First. Then Waterproof the Camper for Good.
Water shows up on the ceiling forty feet from where it got in. Before you spend a dollar on sealant, you need to know which of the six usual suspects is actually letting water through. Then Alasta Seal polyurea — with Super Orange Cleaner prep and 7001 Primer — replaces the whole failing sealant system with one seamless membrane.
Get Help Diagnosing Your LeakWhy the Leak Keeps Coming Back
You Are Chasing the Stain, Not the Source
Water enters at a flange, runs along a roof rafter, drops down a wall cavity, and appears at a ceiling seam on the opposite side of the unit. Sealing where you see the stain almost never touches where the water is actually entering — which is why the leak comes back next spring.
More Caulk Is a Six-Month Fix
Lap sealant is a maintenance item with a three-to-five year life. Adding a fresh bead on top of a cracked one traps the old failure underneath and gives water a channel to travel. You get a dry season and then the same leak.
The Real Fix Removes the Joint Entirely
Alasta Seal self-flashes from the roof deck up over the flange as one continuous polyurea membrane. There is no longer a joint between the vent and the roof — so there is nothing left that can open up.
Stop It Before the Wall Is Gone
A camper wall is a laminate. Once water is in the foam and the luan, the fix stops being a sealing job and becomes a rebuild. The window between "first stain" and "delamination" is the cheapest repair window you will ever have.
Where Campers Actually Leak
In rough order of how often we find the real entry point here — not where the water shows up inside.
- Roof vent & fan flanges
- AC unit gasket
- Front & rear cap seams
- Skylight and hatch curbs
- Sidewall-to-roof corner trim
- Slide-out topper rails
- Antenna, solar & ladder mounts
- Window and door flanges
- Marker lights & wiring pass-throughs
- Old accessory holes plugged with caulk
What the Permanent Fix Involves
Diagnosis, then removal, then a membrane that has no joints left to fail.
How to Actually Find a Camper Leak
Do not start at the top. Start at the bottom and work up in zones, because a hose aimed at the roof will make every possible entry point wet at once and tell you nothing.
Get a second person inside with a flashlight and a phone. Then, with a garden hose at moderate pressure — not a pressure washer — run water for two to three minutes on one zone at a time: lower sidewall and skirt first, then windows, then the upper sidewall and corner trim, then the roof edge, then the roof field, then each individual roof penetration.
Wait between zones. Water that entered at the roof can take five minutes to reach a ceiling panel. Rushing the sequence is how people conclude "it leaks everywhere."
Then map the damage. A pin-type moisture meter run in a grid across the interior wall and ceiling panels will show you how far the wet area actually extends — which is almost always larger than the stain, and is the number that decides whether you are sealing or rebuilding.
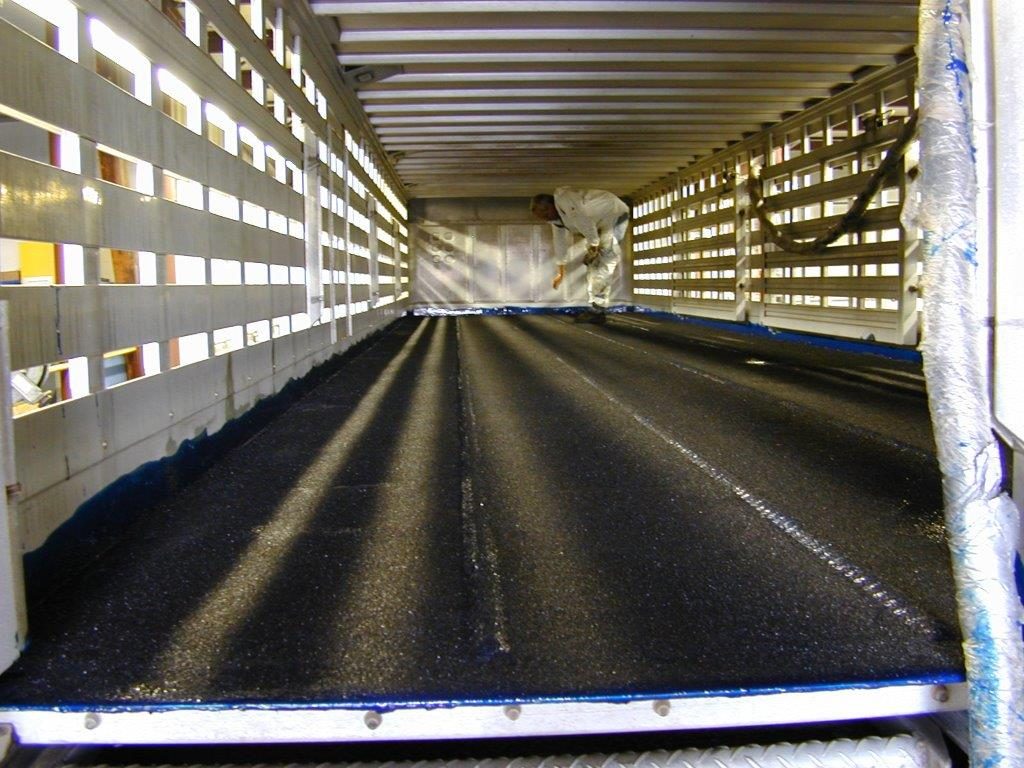
The Six Usual Suspects
- Roof vent and fan flanges. The most common single source. Screwed through the deck, sealed with lap caulk, and that caulk is a three-to-five year wear item.
- The AC gasket. A foam gasket compressed between the shroud and the roof, held by four bolts. It takes a compression set, the bolts loosen with vibration, and water runs down the interior ceiling duct. Symptom: dripping from the AC vents, not from a seam.
- Front and rear cap seams. Two dissimilar materials at a moving joint, facing straight into wind-driven rain at 65 mph. Water here usually shows up in the overhead bunk or the rear corner.
- Corner trim and the sidewall-to-roof joint. A screwed-on aluminum trim strip over a butyl bead. Every screw is a hole; the butyl hardens.
- Slide-out toppers and rails. The most movement anywhere on the unit, and often the worst factory sealing.
- Old accessory holes. A removed antenna, a relocated ladder, a previous owner's solar bracket — plugged with a dab of caulk and forgotten.
Windows and doors leak too, but they leak into the wall differently — usually showing up as a stain below the frame rather than at the ceiling. If the stain is high, look up.
What You Are Racing Against
Sealed and Back in Service
Describe What You Are Seeing
Where is the stain, how big is it, and what does the moisture meter say? Send us that plus the make and roof type and we will tell you where to water-test first — and whether you are looking at a seal job or something bigger.
Get Diagnosis HelpGet Help Diagnosing Your Leak
Tell us about your project and we will follow up with product details, technical data sheets, and pricing.
Frequently Asked Questions
Frequently Asked Questions
The questions people ask after they find the stain.
Finding the Leak
The stain is in the middle of the ceiling. Does that mean the roof field is leaking?
Almost never. Water enters at a penetration or a seam, runs along the underside of a roof rafter until it finds a low point or a screw, and drips there. The field of the roof is one continuous membrane from the factory and is rarely the source. Look at the nearest vent, fan, AC, or cap seam first.
What is the right way to water-test?
Bottom up, one zone at a time, garden hose at moderate pressure, two to three minutes per zone, with a second person inside watching. Skirt and lower sidewall, then windows, then upper sidewall and corner trim, then roof edge, then roof field, then each penetration individually. Wait a few minutes between zones — the travel path can be long.
How do I tell how bad the damage already is?
A pin-type moisture meter run in a grid across the interior wall and ceiling panels. Compare readings against a known-dry area of the same unit. Then press on the panels — any softness or flex means the substrate behind it is compromised, regardless of what the meter says.
It only leaks when it rains hard or when I am driving. Why?
Wind-driven rain and highway airflow push water uphill and sideways in ways a vertical hose test will not reproduce. Cap seams, corner trim, and window flanges are the usual culprits for a leak that only appears at speed. Test those zones with the hose angled up under the trim rather than straight down.
Repair vs. Rebuild
Can I just coat over the wet spot and stop it?
No. Sealing the exterior over saturated framing traps the moisture inside the laminate, where rot continues without oxygen exchange or drying. The wall has to be dry before anything goes over it. If it is currently wet, that gets addressed first — either opened up or dried with weeks of dehumidification and airflow.
How do I know if the camper is worth fixing?
Push on the walls and ceiling around the stain. Firm panels and a dry meter reading mean you are in the cheap repair window — seal it and the problem stops. Soft spots, bubbling in the exterior skin, or waves in the sidewall mean delamination, and that is a reconstruction job that frequently costs more than an older unit is worth.
What if I already re-caulked it and it came back?
That is the normal outcome. New sealant bonds to old sealant rather than to the flange, so when the original bead lets go underneath, water gets a sealed channel to travel sideways. The fix is to remove the sealant entirely and replace the joint with a continuous membrane rather than a better bead.
Do I have to strip the whole roof, or just fix the one spot?
Technically you can spot-treat. Practically, if one flange sealant has failed at five years, the others are the same age and the same product. Most owners who spot-fix are back the following season on a different penetration. Sealing the full deck and every detail at once is usually the better economics.
The Membrane Itself
How long does the polyurea membrane last?
There is no sealant joint left to age out, which is what sets the clock on a factory roof. The membrane itself will chalk cosmetically under UV over many years but retains its physical properties. The realistic maintenance item becomes physical damage — a branch strike or a new hole drilled for an accessory — not scheduled resealing.
Will it stick to my old EPDM roof?
Yes, with the right prep. EPDM sheds a chalky plasticizer layer as it ages that must be removed with Super Orange Cleaner — two passes on a neglected roof — followed by 7001 Primer. Skipping either step is the single most common cause of coating failure on rubber roofs.
Can I spray it myself?
Alasta Seal requires a plural-component proportioner with a heated hose, Graco Reactor E-20/E-30 class or equivalent. It is not a roll-on or airless product. If you do not have a rig, we can refer you to an applicator or discuss what adding the capability involves.
How much material will my roof take?
One gallon yields 1,604 mil-sq-ft at 100% solids — roughly 32 sq ft at a 50-mil spec. A 24-ft towable with about 200 sq ft of deck runs 7–8 gallons for the field plus extra for the 80-mil detail build at flanges and seams. Send us the length and roof type and we will do the math for you.
Question We Did Not Cover?
Send it over with a description of what you are seeing. Someone who has actually chased these leaks will answer.
Ask a Question